Create a Session
Define session parameters to get users aligned on data configuration
Federated learning models created in integrate.ai are trained through Sessions. Sessions are where users define the parameters required to train a federated model, including data and model configurations.
Creating a session is the first step that you need to take each time you want to train a new model.
Step 1: Define session parameters
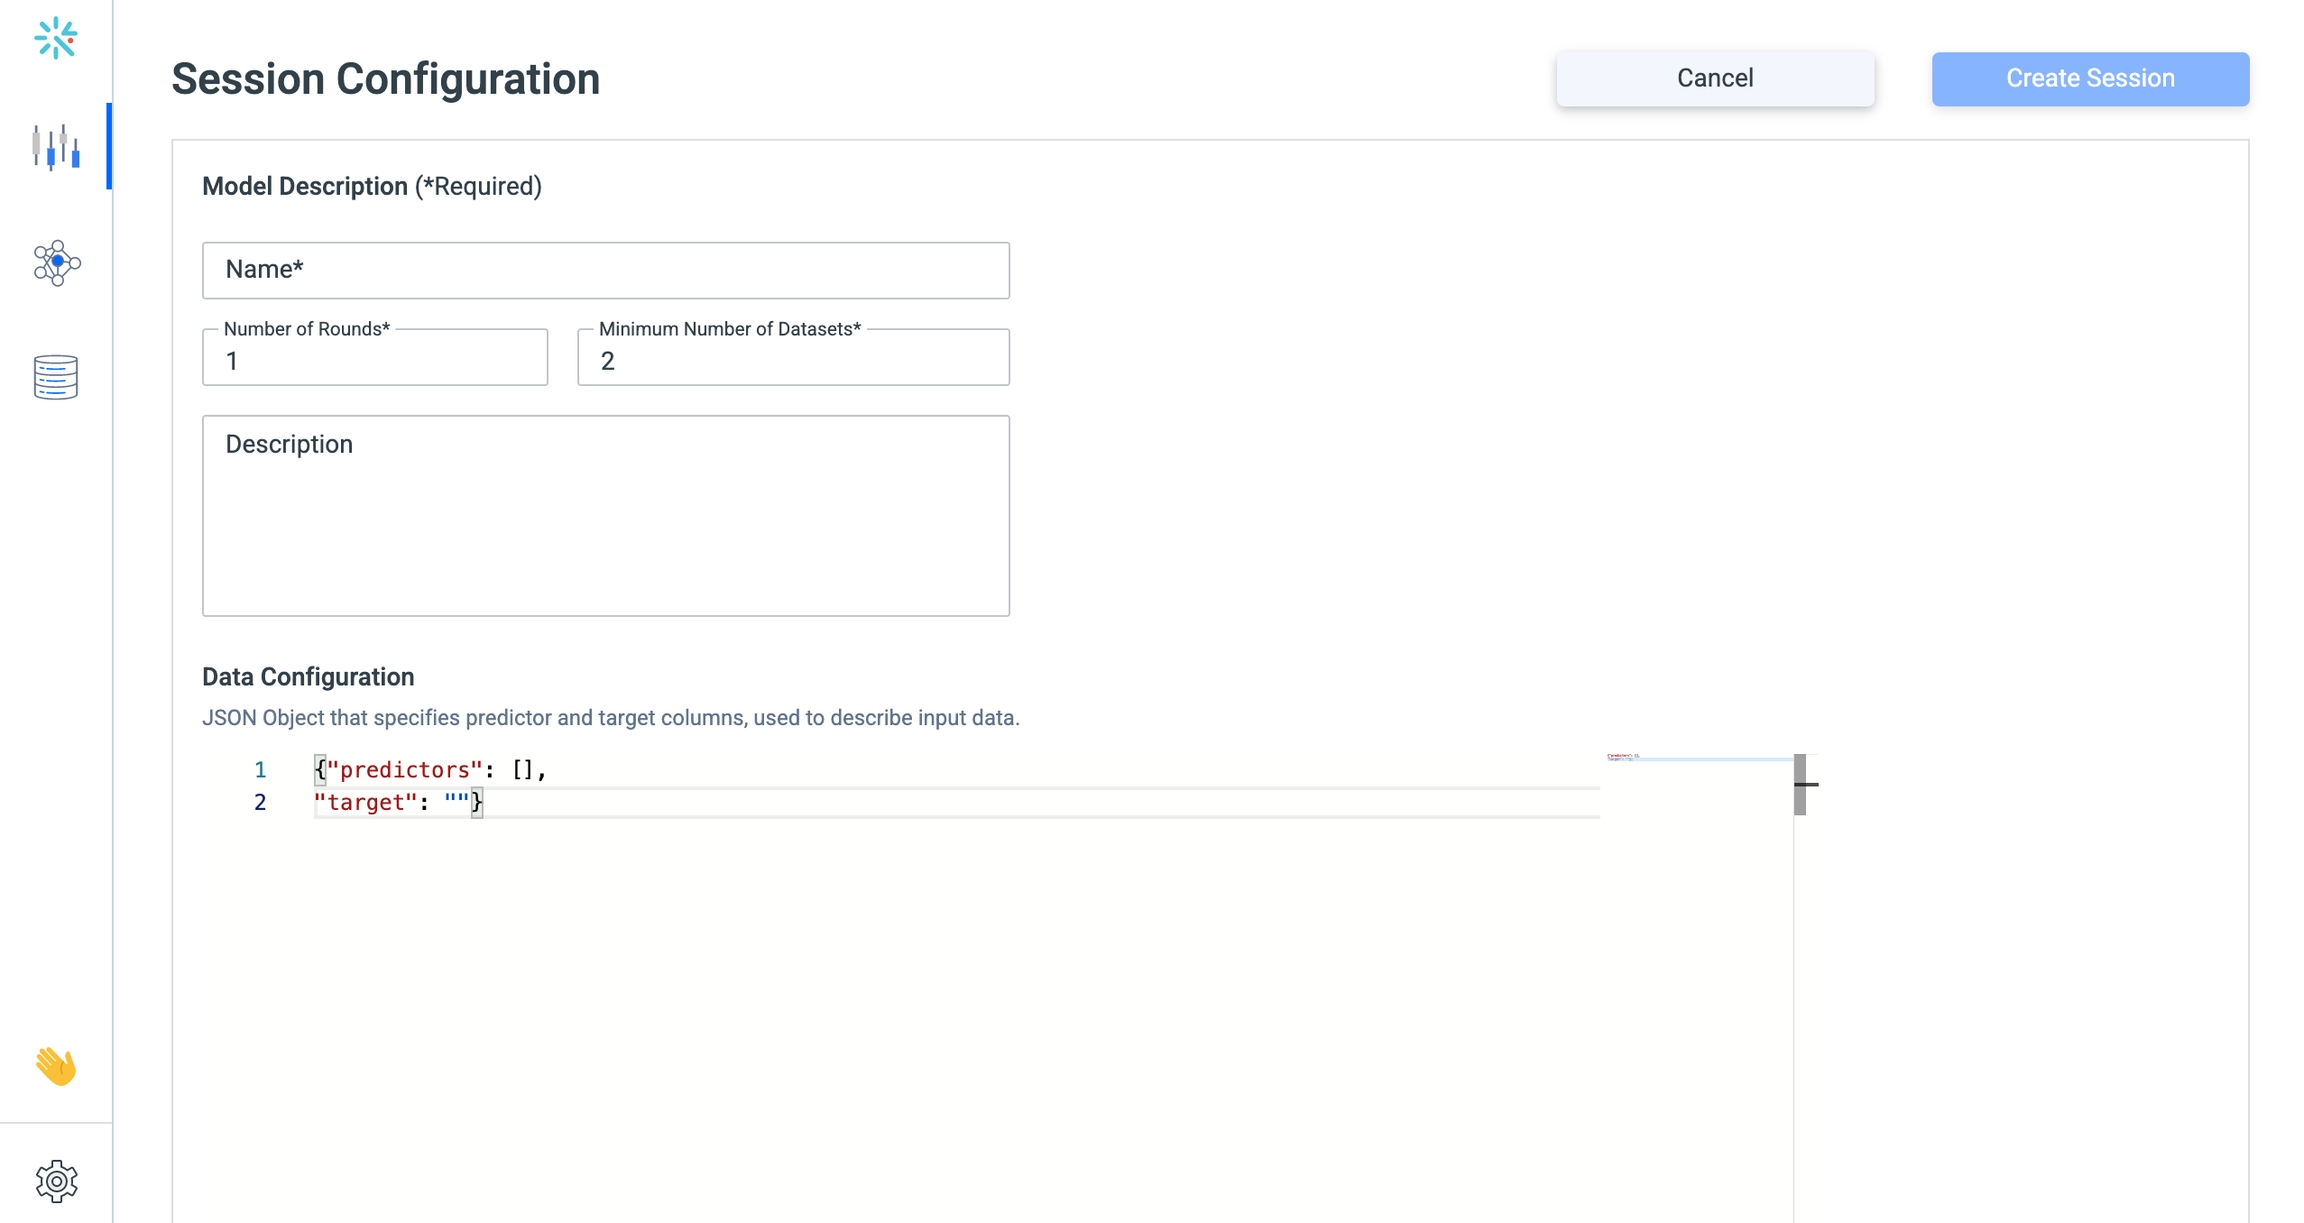
The session configuration window can be accessed via the integrate.ai menu on the left, and allows the user to specify a number of details required to start training a model.
The following table outlines all the inputs that the user is required to specify in this stage of model building.
Input | Definition |
Session Name | Name of the session referenced throughout the UI. |
Minimum Number of Rounds | The number of training rounds, where the global model will be updated based on input from the local models. |
Minimum Number of Datasets | The number of data silos that need to join the session in order for it to begin. |
Description | Any information the DS User wants to include for themselves about the model. |
Model Type | Select a pre-built integrate.ai configuration or a custom model. |
Data Configuration | JSON object where the DS User specifies predictor and target columns, used to describe input data. |
Model Configuration | JSON object where the DS User specifies the model parameters. The integrate.ai UI will have a default template pre-loaded as an example. |
Error handling for Model Configuration:
the JSON editor in PowerFlow will flag any inputs that are not accepted based on the model configuration's schema if you are using the iai_ffnet or iai_glm model.
For any unresolved issues, contact your integrate.ai support team through your organization's joint slack group.
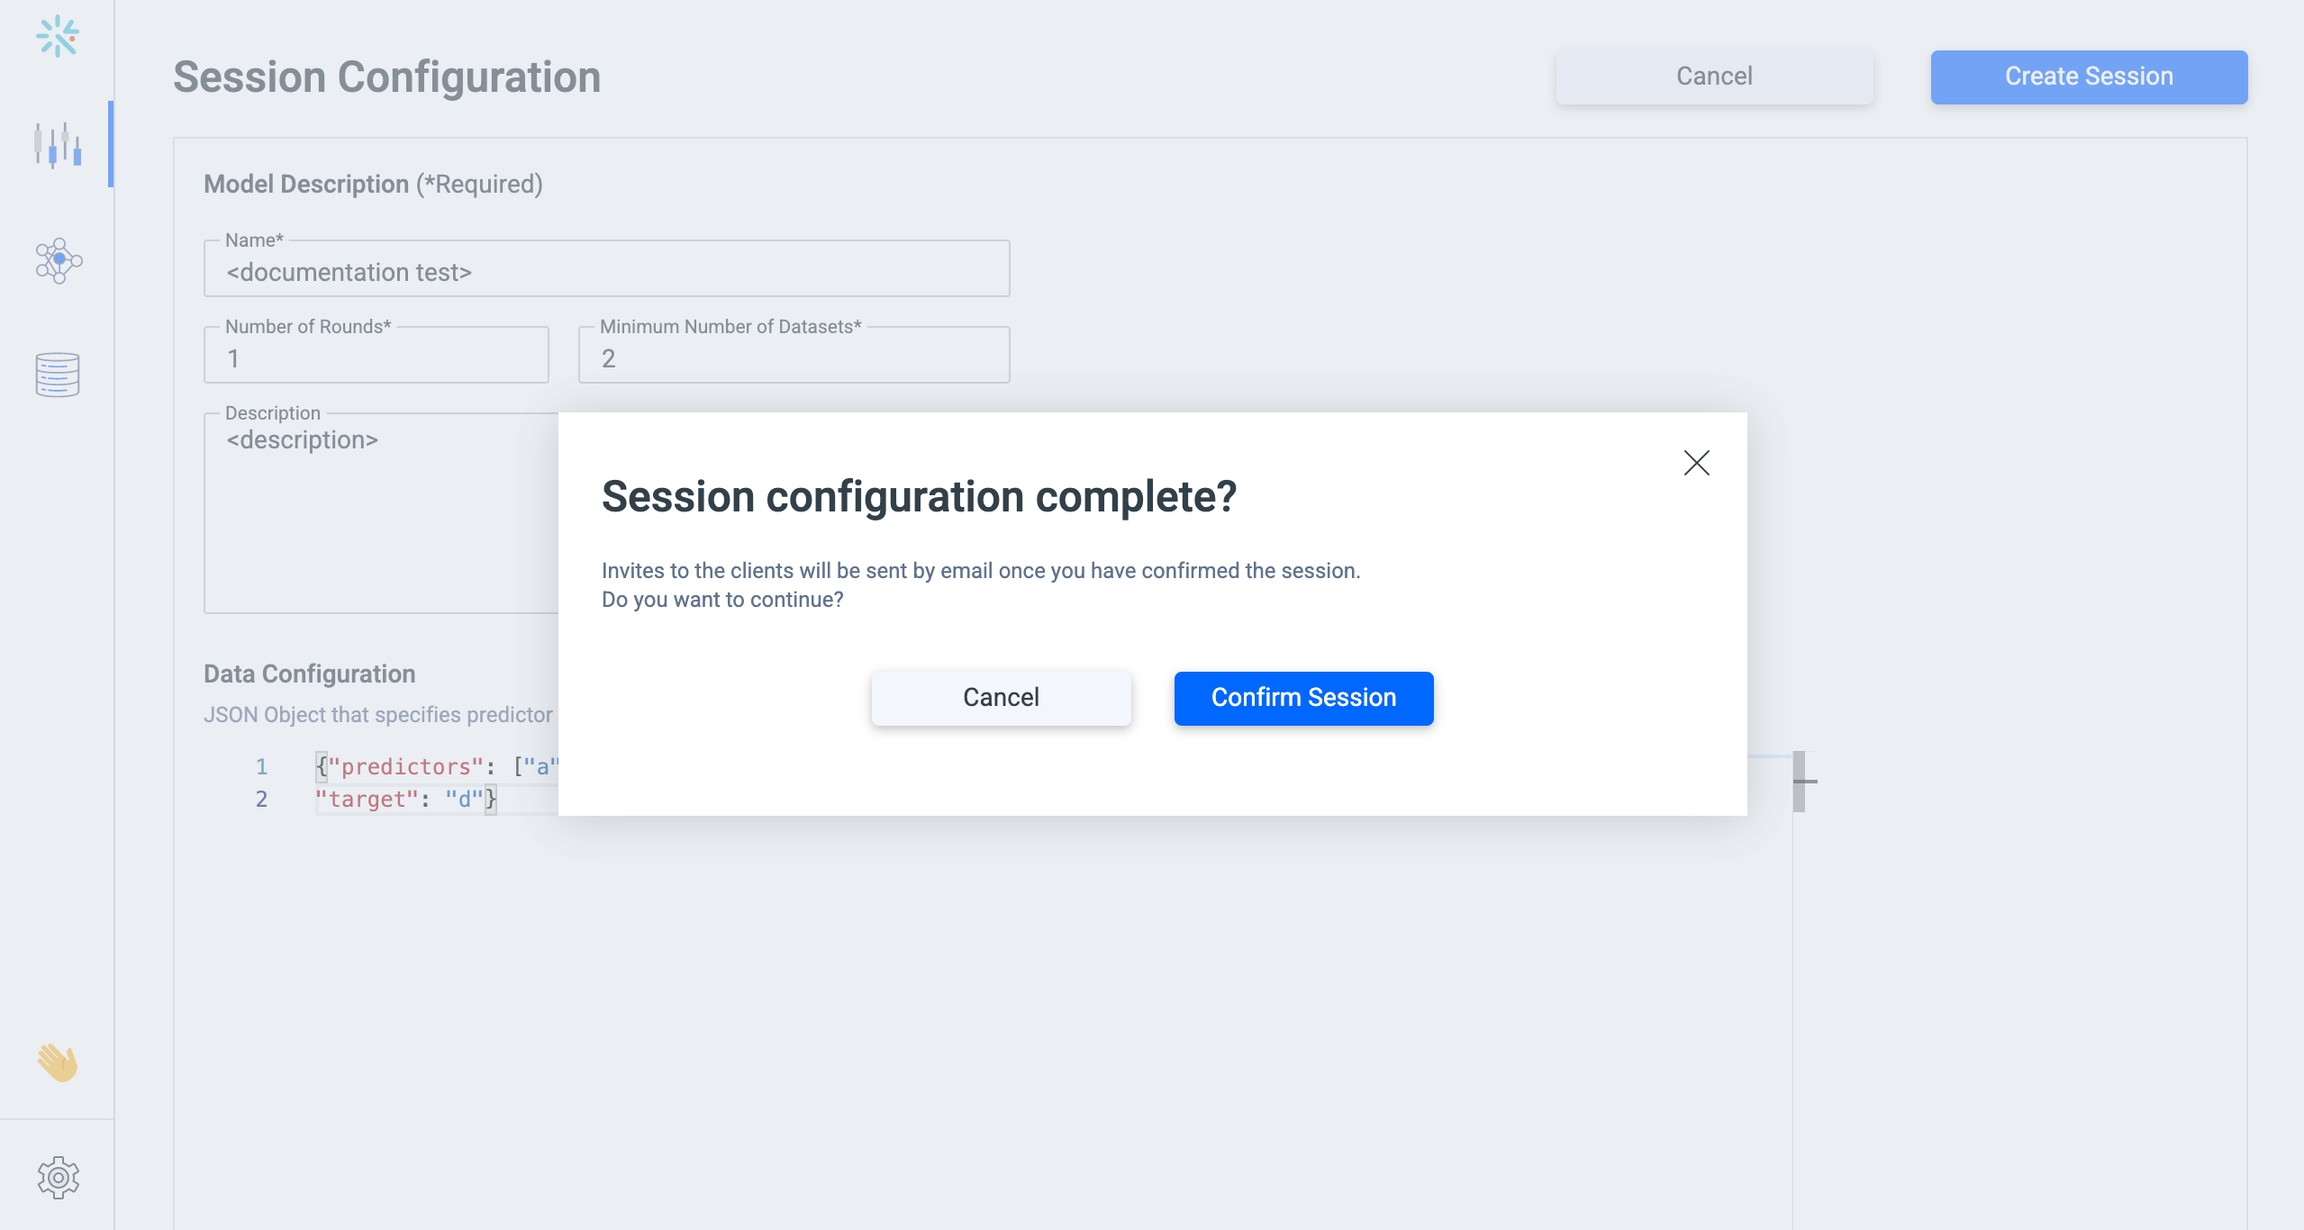
Step 2: Create the session
Once the session parameters are complete, the user can press the blue "Create Session" button, which will trigger an email communication to all users on the account. The email will notify each user that a session has been created and give them instructions on how to prepare their data, if they are joining the session.
Creating a session generates a unique “Session ID”, which will be used as a unique identifier and will be required later to start the session.
Once session configuration is complete and users have received the email communication, the next step is preparing data for training, which will be done based on the data configuration specified in this step.
Last updated